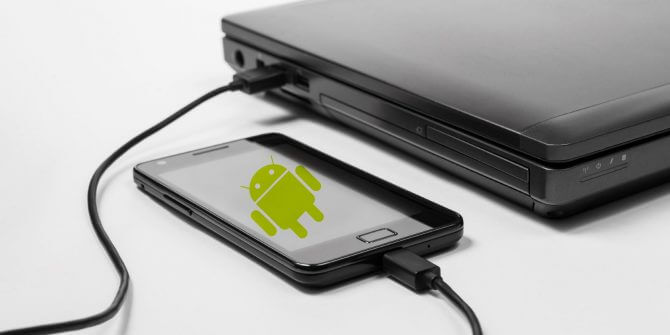
What is USB Debugging on Android?
USB Debugging on Android is one of the developer options that lets you connect with the system that running Android SDK to access the advanced operations. It allows your Android device to receive commands, and files from the PC. It also allows the PC to pull the crucial log files from the Android device. On the other side, USB Debugging has one main disadvantage. While plugging your Phone into an unfamiliar USB port, your device will be exposed easily, Hence there is a possibility of stealing your private information from your device.
How to Enable USB Debugging Mode on Android?
On the latest version of Android, the USB debugging mode is hidden under the developer options. So, you need to unlock developer mode to enable USB Debugging mode.
Unlock Developer Mode:
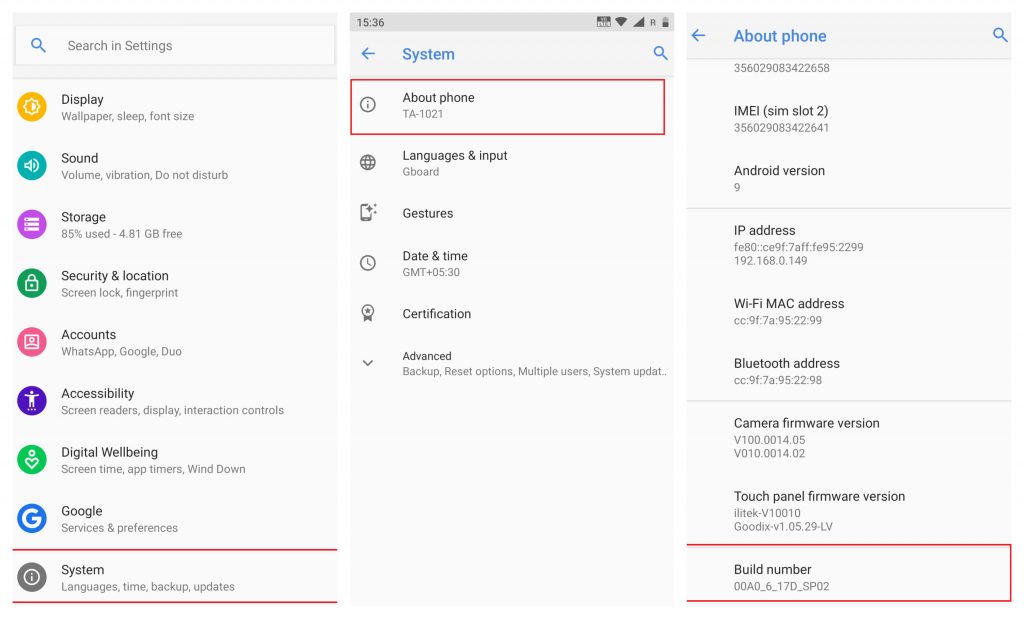
#1: Open settings app on your Android device. #2: Scroll down and select System. #3: Under the settings menu, select About Phone. #4: Scroll down untill you see Build Number menu. #5: Tap the Build Number menu several times to unlock the developer mode.
Enable USB Debugging:
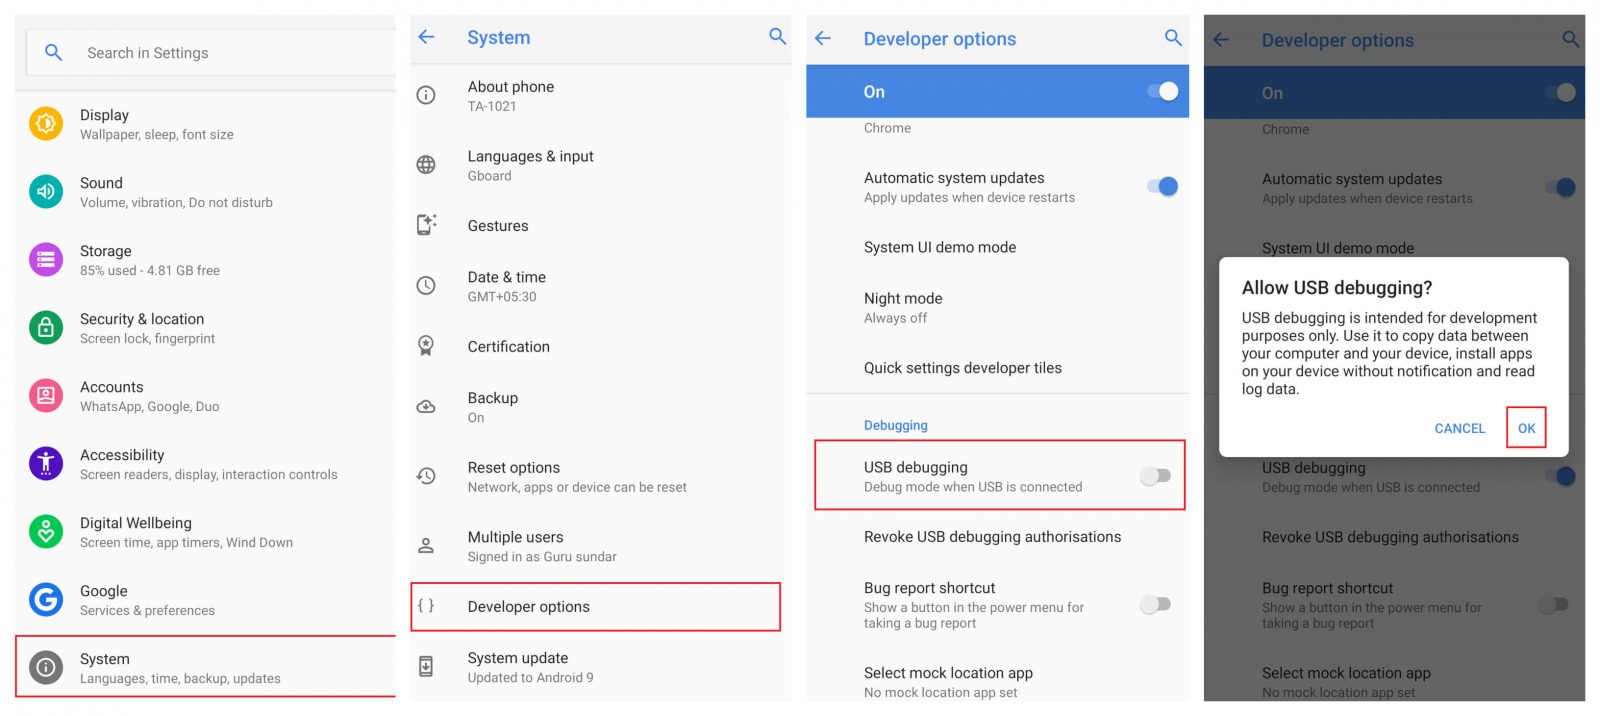
#1: Get back to the System settings menu. #2: Select Developer Options. #3: Scroll down untill you see USB Debugging menu. #4: Turn on by moving the slider located next to the USB Debugging menu. #5: Click OK to confirm the process. #6: That’s it. You have successfully enabled USB Debugging on your Android device.
Final Thoughts
These are the steps required to enable USB Debugging Mode on Android. Enable the mode when you need to use it and then disable it when you’re finished. That’s the safest way to handle the USB Debugging mode. Thank you for visiting Techfollows.com. For further queries and feedback, feel free to leave a comment below.